Monk Took Book Monastery Map
How the abbey is laid out, from the morning dock to the crypt shrines.
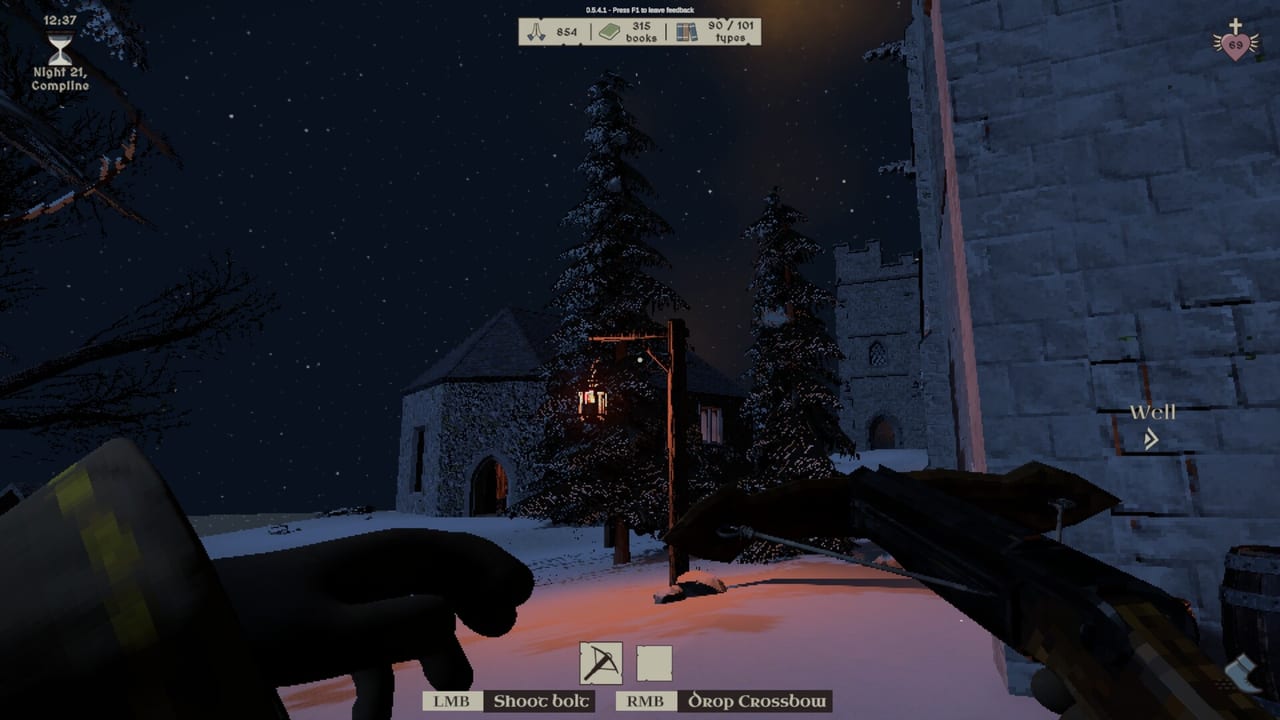
Holy Island is a hand-crafted monastic library, not a procedural maze. Once you learn the commute — dock, hill, hall, desk, bell — the rest of the abbey is expansion around that spine. This map page names the spaces you will actually use in the opening hours and in the full collection campaign. It will not invent secret room titles for chambers you unlock later with Blessings. Those doors are real; their contents depend on when you pay.
Walk the island in daylight after Getting Started. Night is a bad time to learn architecture. Pair this page with how to play for the loop and with the organization guide for what to put where.
The commute spine
Dock. Every morning, untitled illustrated books spawn here. This is the only reliable delivery point. Stack them, throw them to a waiting brother, or make multiple trips. Do not catalogue on the boards. Pests and weather belong outside; your memory belongs on shelves. When the dock is empty, the day’s intake is done.
Hill to the library. The uphill path is the long cost of every crate. Speed perks exist because this walk eats the clock, especially in co-op when four people still somehow take it in single file. Keep the path clear of dropped torches and abandoned stacks. A book left on the hill is a book you will not find at 3 a.m.
Snowy exterior. The abbey sits in weather. Exterior snow is pretty and hostile to paper. Use it as a route, not as storage. Rabbit archers like lines of sight out here. If you must fight, do it after you set stacks down inside. See combat before you duel in a blizzard for fun.
Main hall, tapestry, checkout
Main hall. Home. First shelf sites, first mistakes, first fires. Build your primary taxonomy here before you buy a side door. The hall is the room you can see from multiple aisles; that visibility is worth more than a clever annex you forget.
Tapestry of book types. On the main hall wall. It tracks which cover families you have collected. After every night payout, look at it. New types arrive every other day; duplicates of known types still show up as extra stock. The tapestry is how you know the Legendary Collection is actually moving.
Checkout desk. Night destination. Scribes list exact covers. You deliver to the desk, not to a nearby table that “counts in spirit.” Do not drop weapons, pails, or ladders into the desk. Keep the aisle in front of it empty so a Draugr cannot pin the whole house on the last order.
Mezzanine. Upper air in the hall. Useful once carpentry and ladders exist. Put a family you can describe in one word — geometry, beasts, rites — so a night fetch has a single climb, not a scavenger hunt across two floors. Leave a ladder parked if the house is short on Strength.
Belfry and the decision to start night
Belfry / tower outside. Ringing the bell starts the night shift. That is a player decision, not an automatic sunset you cannot control. Ring when shelves are set, the pail is full, and someone can name where new types live. Ringing because you are bored of shelving is how short hourglasses feel cruel.
The tower is also a landmark. If you are lost in snow, look for it. HUD waypoints will call major jobs; the belfry is the one you walk on purpose.
Crypt, perks, and quiet spending
Crypt. Perk shrines live here: Strength, Speed, Carpentry, and later speciality shrines such as torch ember reduction. Pray, pay Blessings, leave. The crypt is atmospheric and easy to over-stay. It is not a storage room. Do not stash rare covers next to a shrine because it felt thematic.
Spend rules that keep the map readable: carpentry and hall shelves first, movement if the hill is the bottleneck, combat perks only if hauntings are on. Rank details sit on the perk tier list. A monk who maxes shrines and never unlocks a chamber will drown in a packed hall. A monk who opens three rooms and never buys carpentry will own empty floors and short bays.
Shops and the well
Shops are labelled by tool, not by lore name. You will pass doors or stalls for bucket, torch, holy cross, dagger, crossbow, and ladders. Buy in that spirit: water and light before weapons, ladders when bays go high, holy cross before you need an exorcism. Leaving a purchased tool in the shop is the same as not buying it. Park tools on racks you can describe: “crossbow on the checkout-side holder,” not “it’s around.”
Well. Cloister water. Fill the pail here. The HUD can waypoint Well the same way it waypoints other jobs — follow it during the day so you are not hunting architecture while a table burns. A dry bucket in the hall is a delayed fire. In four-player nights the well trip must happen before the bell, because the timer is about 55 percent of solo.
Unlocking chambers without wrecking memory
Extra rooms and chambers open with Blessings. They are the campaign’s map expansion: more shelf sites, more air, more places to lose a family. Practical rules:
- Open a door only when the main hall is actually full, not when you have leftover coins and curiosity.
- Walk the new room once in daylight. Count bays. Pick one cover family before you haul a single stack.
- Name the room by the family, out loud, on proximity voice if you have brethren.
- Put a torch holder in before night. Dark annexes eat time.
- Do not split one family across hall and annex unless the overflow is obvious (“extra lions in the side room”).
This page will not spoiler-tour those chambers. The pleasure of the full game is paying for a door and deciding what it means. A wiki list of every later alcove would pretend Holy Island is a linear dungeon and would fight your own spend order. If a new room appears in a patch, apply the same five rules.
A daylight walking order
When you load in, walk this loop once before you touch the dock:
Dock boards, up the hill, into the main hall, face the tapestry, touch the checkout desk so your hands know the drop, glance the mezzanine, step outside to the belfry so you know the ring path, dip to the crypt only if you intend to pray, check shop doors for tools you already own, fill the pail at the well, return to the hall. That circuit is the abbey. Everything else is a Blessing-gated extra.
Night navigation is the same circuit plus the hourglass. Use waypoints, then trust the taxonomy you built, not a hope that the cover “was by a window.” If a listed book is gone, check green footprints before you search snow. If you are teaching a new host, run this walking order together on night one of the walkthrough.
Keep a sketch in the memory planner with four boxes: hall left, hall right, mezzanine, first unlocked chamber. When a fifth box appears, you earned it. Until then, the spine is enough: dock, hill, hall, desk, bell, well, crypt. Learn those seven and Holy Island stops being a gothic blur and starts being a workplace. The snow can stay pretty. The books need addresses.
Frequently Asked Questions
Quick answers for novices tending the Holy Island library.
Where do new books appear?
At the dock every successful morning. Haul them up the hill into the main hall. Do not leave crates in the snow.
Where do I start the night?
Ring the belfry tower outside, then read the checkout desk in the main hall. Ringing is your choice; do it after shelves and the pail are ready.
Where are perks?
In the crypt. Shrines take Blessings for Strength, Speed, Carpentry, and other upgrades. Do not store books down there.
Where do I fill the bucket?
At the well. Follow the Well waypoint during the day. A dry pail is how small embers become hall fires.
Should I unlock extra rooms early?
Not until the main hall is full and you know which cover family will live in the new chamber. Empty rooms tax memory. See the organization guide.
What is the tapestry for?
It tracks collected book types on the main hall wall. New types arrive every other day; the tapestry is how you see campaign progress.